

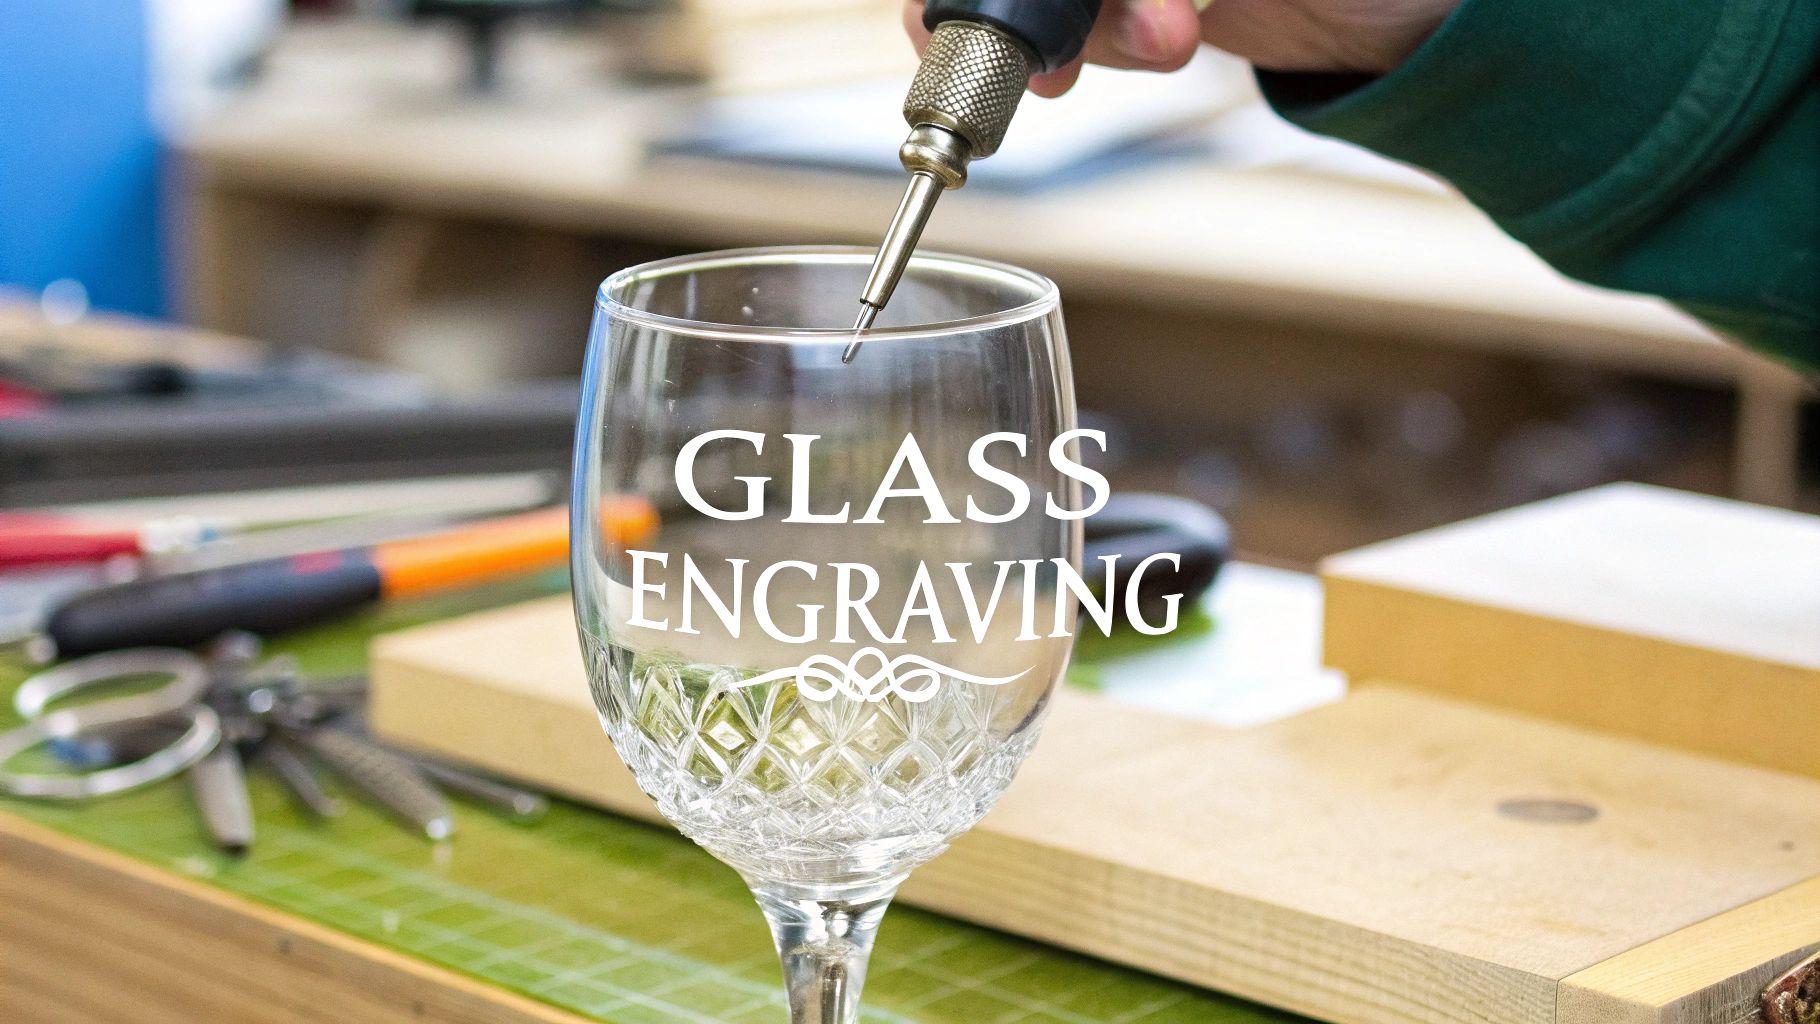
Knowing how to engrave glass is simpler than you might think. At its core, it's about using a tool to etch a design onto a glass surface. With the right touch, you can take an ordinary piece of glassware and turn it into a beautiful and personal gift, perfect for a special occasion or as a standout corporate offering.
From Simple Glass to a Timeless Gift
Welcome to the art of glass engraving, where an everyday item can become a cherished keepsake. This guide is for anyone looking to create something truly meaningful, whether it's a custom award for a top employee or a one-of-a-kind present for a close friend. Engraving adds a personal, sophisticated touch that mass-produced gifts just can't replicate.
This craft isn't new; it has a rich history that stretches back more than 3,500 years to ancient Mesopotamia. Early artisans used hard stones to painstakingly inscribe their designs. The art form really came into its own during the Renaissance, when diamond-point tools allowed nobles to commission incredibly intricate pieces. You can explore the history of etched glass to see how this tradition evolved into the accessible craft we know today.
Creating Memorable Gifts with Engraving
Modern engraving tools allow for incredible precision, making them a fantastic choice for both corporate and personal gifting. It's the ability to add that custom touch—a company logo, a special date, or a name—that elevates any item into something genuinely special.
Here’s why engraved glass is such a powerful choice for gift-givers:
- Personalization: Adding a name, a significant date, or a company logo creates a one-of-a-kind piece that connects directly with the recipient, making them feel truly valued.
- Perceived Value: An engraved item feels more thoughtful and luxurious. It makes a much stronger impression than a standard, off-the-shelf gift.
- Timeless Appeal: Unlike trendy gifts that come and go, an elegantly engraved glass piece is a classic that will be treasured for years, keeping your brand or sentiment top of mind.
Whether it's for a client appreciation event, employee recognition, or a milestone birthday, an engraved gift shows a level of care and attention to detail that is always remembered.
Our collection of premium glassware provides the perfect canvas for your gifting vision. Beginning with high-quality glasses, like our custom whiskey glasses or decanter sets, ensures your thoughtful gift looks and feels exceptional. We'll walk you through everything you need to know, from picking the right tools to mastering the techniques, giving you actionable advice to create beautiful, memorable gifts right away.
Choosing the Right Engraving Tools and Glassware
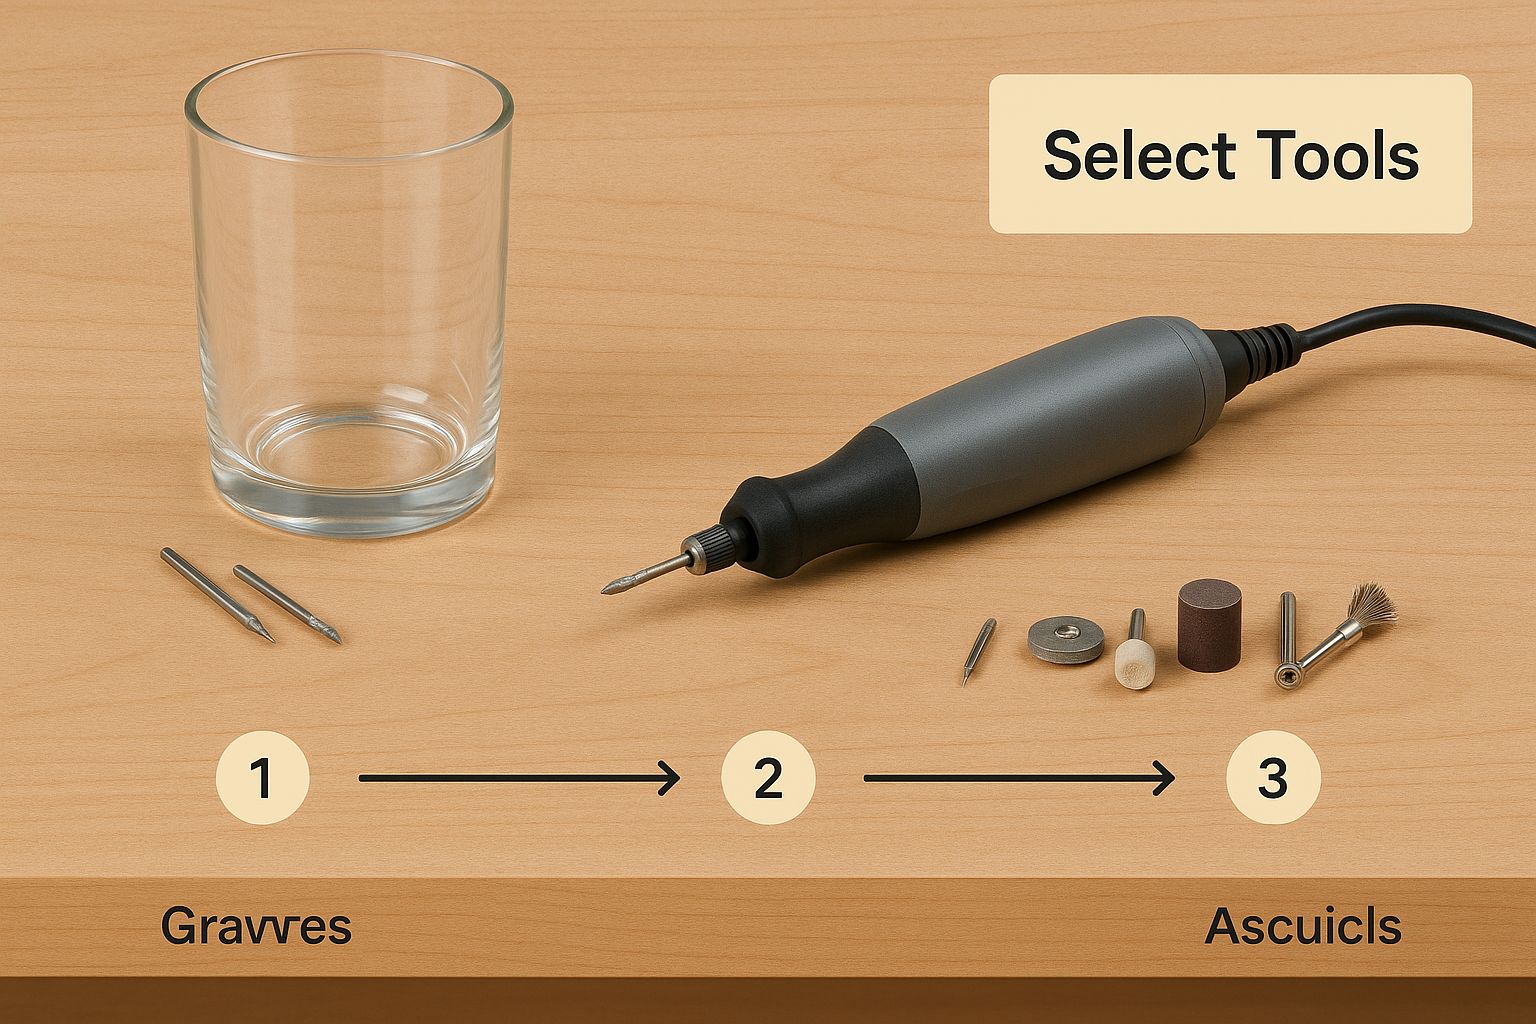
Getting your hands dirty with glass engraving starts with one simple choice: your tools. What you pick will shape everything from the final look of your gift to how much you spend and the complexity of the designs you can pull off.
Think of it as the first brushstroke. The tools and the glass you choose are the foundation of your entire gifting project.
As you can see, there’s more than one way to get the job done. Picking the right equipment is what separates a homemade-looking piece from a truly professional corporate gift.
Picking Your Engraving Method
So, where do you start?
For most people dipping their toes into engraving for a personal project, a rotary tool (you've probably heard of a Dremel) is the perfect entry point. It gives you a great mix of power and control, making it ideal for learning the ropes on a few one-off gifts.
But if you’re dreaming of those super-fine, delicate lines—maybe for an intricate monogram on a set of champagne flutes for a wedding—then a manual diamond-point engraver is your best friend. It offers pinpoint precision, echoing the same techniques master artisans have used for centuries.
When consistency and speed are the name of the game, especially for larger orders of corporate gifts, laser engraving is the industry go-to. It delivers flawless, identical results every single time, which is non-negotiable when you need a company logo to look perfect across a hundred glasses for an event.
Comparison of Glass Engraving Methods
To make the choice a bit easier, I've broken down the most common methods. Think about what you're trying to create—a single heartfelt gift or a hundred branded items—and let this table guide you to the right tool for your project.
| Engraving Method | Best For | Skill Level | Typical Cost |
|---|---|---|---|
| Rotary Tool (Dremel) | One-off custom gifts, learning the basics, bold designs | Beginner | $50 - $150 |
| Diamond-Point Engraver | Extremely fine details, calligraphy, intricate artwork | Intermediate | $15 - $50 |
| Laser Engraving | Bulk orders, corporate branding, perfect consistency | Professional | $2,000+ (for a machine) |
Ultimately, the tool has to match the gift's purpose. A rotary tool is perfect for pouring your heart into a unique piece, while a laser ensures every client gets that same crisp, high-quality finish your brand represents.
Finding the Perfect Glassware to Engrave
The quality of the glass itself is just as critical as the tool in your hand. Starting with a beautiful, well-made piece makes the entire process more enjoyable and guarantees your finished gift feels special and reflects well on you or your company.
Our product assortment offers an ideal starting point for any gifting occasion:
- Whiskey Glasses: Our sturdy, elegant whiskey glasses have a smooth, broad surface that's just begging for a custom name, date, or logo. They’re a perennial favorite for executive gifts and client appreciation.
- Decanter Sets: A personalized decanter set isn't just a gift; it's a statement. This is what you give for the big moments—anniversaries, retirements, or closing a significant deal.
- Cocktail Glasses: Looking for something more festive? Engraving a fun message or an event name onto a set of cocktail glasses is a fantastic way to mark a team celebration or corporate holiday party.
Don't forget the basics—you'll need safety glasses and a dust mask before you start. Once you're all set up, you can start diving into different designs and techniques. For a little more inspiration, check out our guide on custom etched glasses.
Remember, starting with high-quality glassware elevates the entire project. It's the difference between a nice gift and an unforgettable one.
Getting Your Glass and Design Ready for Flawless Results
Great engraving doesn't just happen the moment your tool touches the glass. Not by a long shot. The real magic, the kind that turns a simple project into a gift someone will treasure, starts with thoughtful prep work. It’s what separates a wobbly, amateurish piece from a clean, professional one that reflects quality.
First things first, you need a pristine canvas. I always start by giving the glass a thorough wipe-down with isopropyl alcohol and a lint-free cloth. This quick step gets rid of all the oils, fingerprints, and random dust that can compromise the engraving. You want your lines to be crisp and clean, and this is ground zero for making that happen.
Bringing Your Vision to the Glass
With a sparkling clean surface, it's time to get your design in place. This is where your idea for that perfect personalized gift really starts to take shape, so don’t rush it. How you get the design onto the glass really depends on what you're making and the look you're aiming for.
I’ve seen and tried just about every method, but these are the most common and reliable:
-
The Traceable Guide: This is my go-to for anything that needs to be precise, like a corporate logo or a clean, elegant name. Just print out your design, flip it, and tape it securely to the inside of the glass. It creates a perfect guide to follow, giving you the confidence to make every line count.
-
The Freehand Sketch: Feeling a bit more artistic for a personal gift? A white wax pencil or even a permanent marker works surprisingly well for sketching a design directly onto the glass. This is fantastic for more organic, free-flowing designs where perfect symmetry isn't the goal.
-
Adhesive Stencils: If you're creating a set of glasses with the same text for a company event or client gifts, adhesive vinyl stencils are a lifesaver. You just stick the stencil on, engrave inside the cutouts, and peel it away. The result? A sharp, perfectly uniform design every time.
What you're really doing here is creating a clear roadmap for your engraving tool. A steady hand is one thing, but a clear guide is what truly guarantees accuracy—especially when you’re working on high-value corporate gifts where every little detail matters.
Setting Up Your Workspace for Success
Once your glass is clean and the design is ready, lock that piece down. I can't stress this enough. Use a non-slip mat or some gentle clamps to make sure your item doesn't shift, even a millimeter, while you're working. One little slip can ruin an entire line, and there’s no undo button. That stability is absolutely non-negotiable if you want that polished, high-end look that makes a great impression.
This whole prep phase is what makes or breaks a project, especially when you're working with quality glass. Whether it’s a set of custom wine glasses for a client or an elegant decanter for a big anniversary, putting in the effort here ensures the final piece is something to be proud of. For a little inspiration on what’s possible when you nail the prep, check out our gallery of beautiful engraved glassware. You'll see how these crucial first steps lead to absolutely stunning results. This is how you turn a simple piece of glass into a truly memorable gift.
The Hands-On Art of Engraving Glass
Alright, this is where the real fun begins—the moment your design actually comes to life on the glass. If you remember only one thing, make it this: start with a light touch. You can always go back and make a line deeper, but there's no "undo" button for a slip or a heavy-handed mistake. This is especially critical when you're working on something special, like a high-end decanter for a corporate client where perfection is the only option.
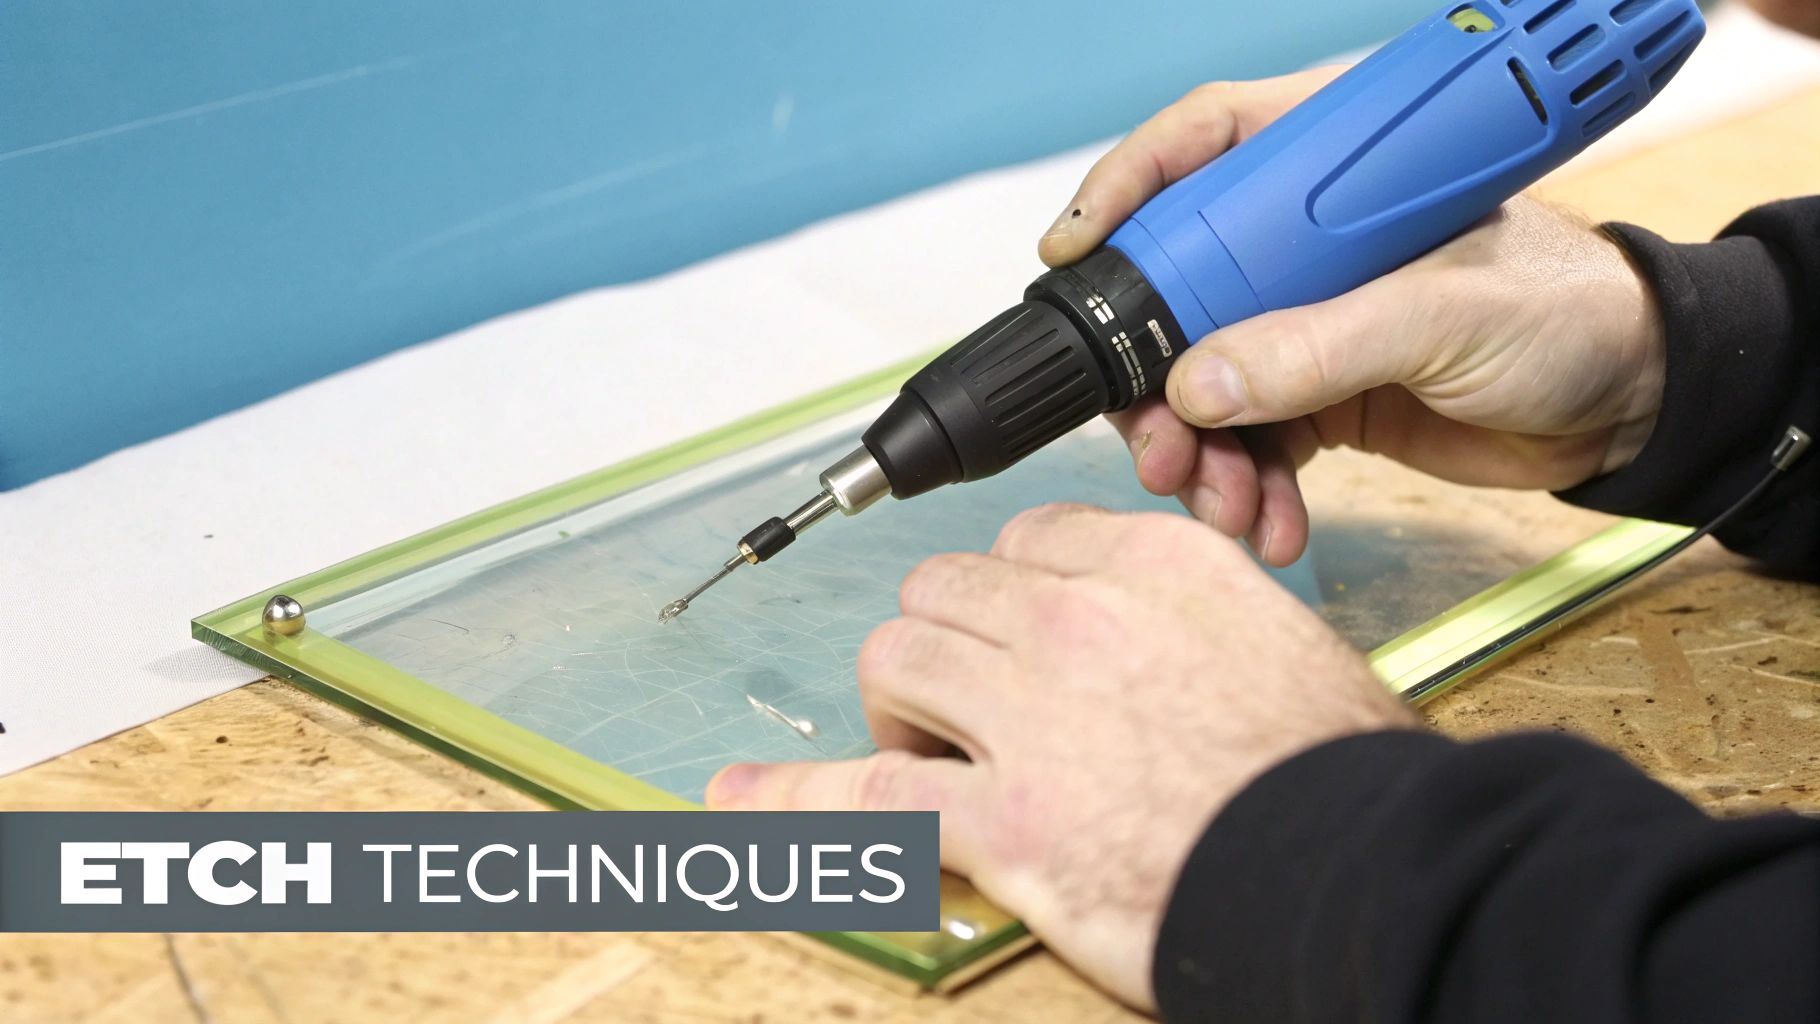
Hold your engraving tool just like you would a pen. It feels the most natural and gives you the best control. Once you’re comfortable, gently trace the main outlines of your design using steady, even pressure. The idea is to create smooth, continuous strokes. This is what separates a professional, polished look from something that appears jagged or hesitant.
Building Up Your Design
With your initial outlines etched, it's time to add depth and detail. This is where you can really inject some character into the piece, transforming a simple whiskey glass into a memorable keepsake for a staff award or a special birthday.
This part is all about experimentation. Here’s a good way to approach adding those more complex elements:
- Filling in Areas: To fill larger spaces, like the letters in a name or the solid parts of a logo, use small, light, circular motions. Overlapping these circles creates that classic, consistent frosted look that defines professional engraving.
- Creating Shading: For more artistic designs, you can create shading by playing with the angle of your tool or the amount of pressure. A lighter touch gives a soft, subtle frost, while a bit more pressure creates a bolder, more opaque mark.
- Switching Tool Bits: Most rotary tools come with a whole set of bits. A fine, pointed one is perfect for delicate lines, while a rounded or ball-shaped bit is better for filling and shading. Don’t be afraid to switch them out as your design requires.
Remember, the goal isn't speed; it's precision. I find it helps to work in short, focused bursts. This keeps your hand steady and your mind clear, which is what makes each engraved gift feel so personal and thoughtfully crafted.
Mastering Control and Technique
Learning to engrave glass is a skill you build with practice. A steady hand comes from muscle memory, so don't get discouraged if your first few attempts aren’t perfect. A great tip is to rest your wrist on your work surface—it provides a stable anchor point for your movements.
This is exactly why starting with quality glassware matters so much. A well-made glass from our collection offers a forgiving and genuinely satisfying canvas to work on. The weight and smoothness of the glass make guiding your tool easier, letting you focus on technique and creating a gift you're proud of.
Whether it's a set of custom barware for a client or a single, special piece for a loved one, that combination of your personal touch and a premium product creates a gift that is truly exceptional. It's this careful, manual work that ensures every piece has its own unique character.
The Safety Briefing You Can't Afford to Skip
It’s easy to get lost in the creative flow when you're engraving glass. But before you even think about plugging in your tool, we need to have a serious chat about something that's absolutely non-negotiable: your safety. A few simple precautions are all it takes to make sure you can focus on bringing that beautiful gift design to life, worry-free.
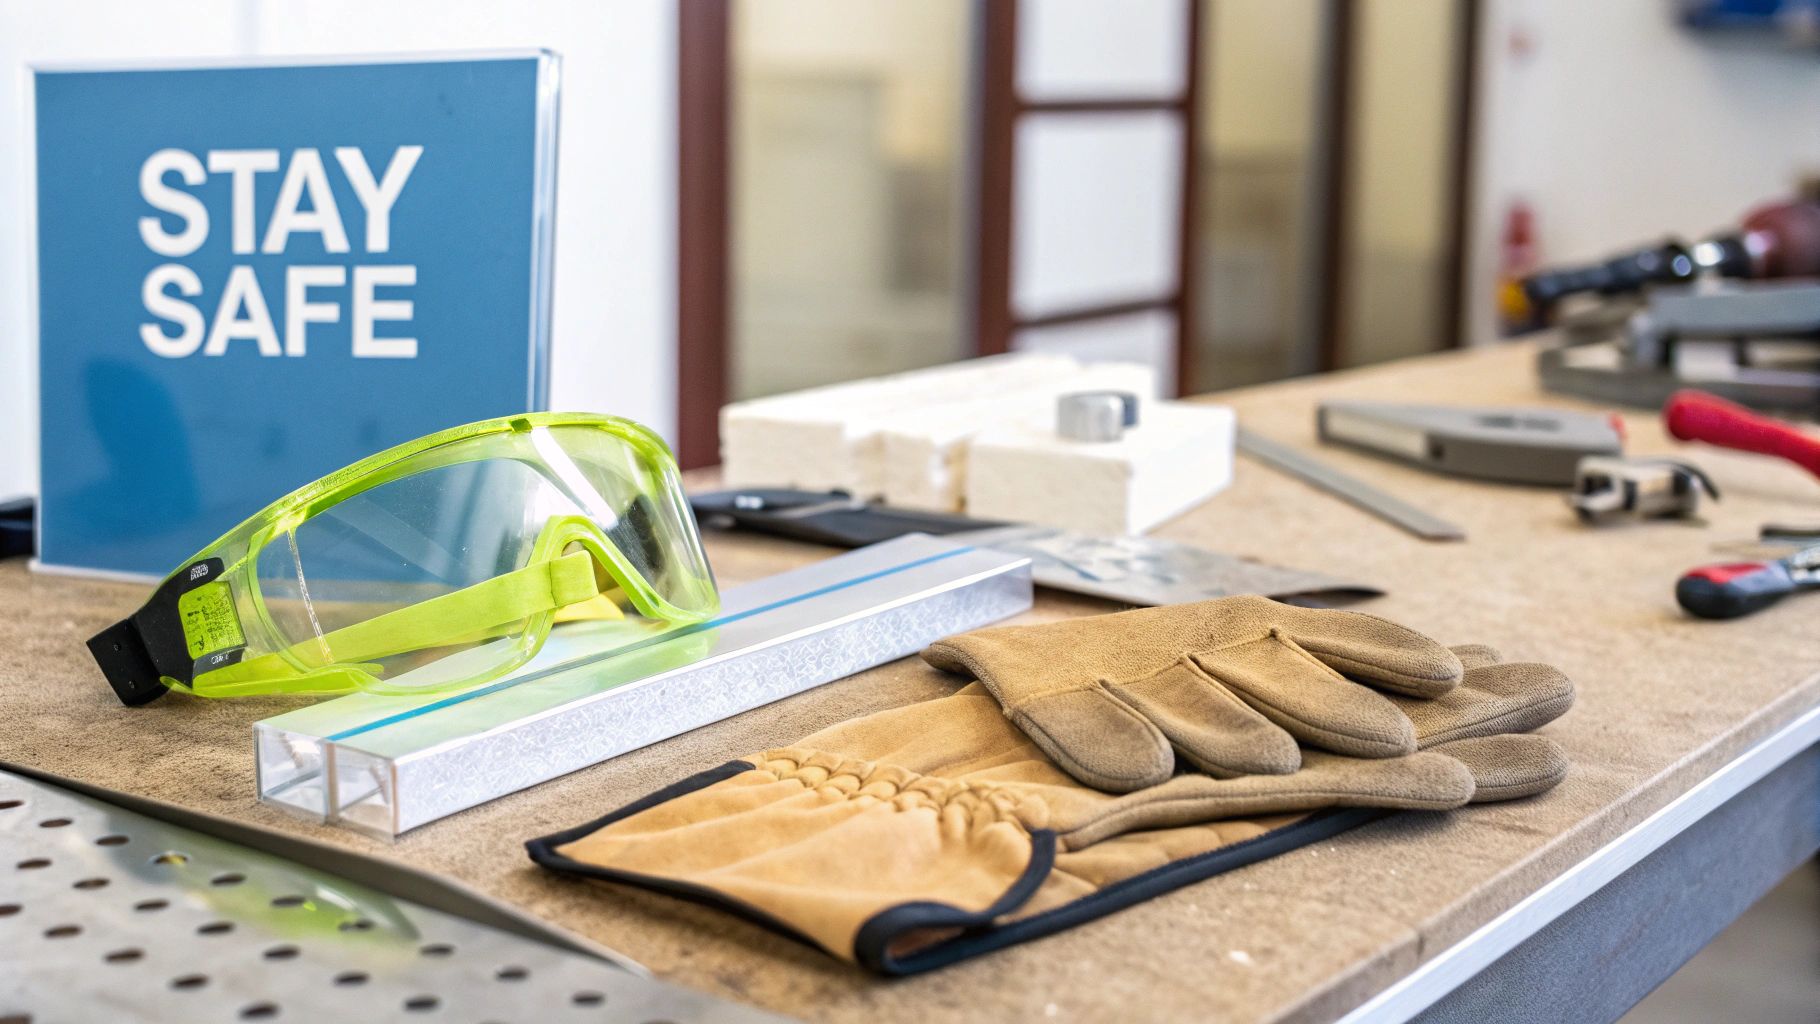
The biggest risk, by far, is the fine, almost invisible dust that gets kicked up. This stuff is literally tiny shards of glass, and breathing it in is a huge no-no. You absolutely must wear a well-fitting dust mask every single time. An N95 respirator is a fantastic, easy-to-find option that will give you solid protection.
Gear Up and Prep Your Space
After your lungs, your eyes are the next most vulnerable thing. It's not uncommon for tiny fragments of glass to chip off and fly out at surprising speeds. So please, always wear a pair of snug-fitting safety glasses or goggles. It only takes a split second for an accident to happen, and this is your best line of defense.
Protecting yourself is half the battle; the other half is creating a safe environment to work in. Run through this quick mental checklist before you start:
- Get Some Airflow: A well-ventilated space is crucial. Crack open a window, open the doors, or even just set up a small fan to keep the air moving and disperse that glass dust.
- Lock It Down: Make sure your glass piece is totally stable on your work surface. A simple non-slip mat or a few soft clamps will keep it from sliding around. This prevents not just frustrating mistakes but also your tool from slipping where you don't want it to go.
- Give Your Tool a Once-Over: If you're using a rotary tool, just take a second to check that your engraving bit is securely locked in. It’s a small thing, but it makes a big difference.
When you make these safety checks a non-negotiable part of your routine, you build a workspace where you can truly relax and create. That peace of mind lets you pour all your focus into nailing that set of custom whiskey glasses for a client or that special anniversary decanter.
At the end of the day, these habits aren't about slowing you down. They’re about setting you up to engrave safely and effectively for years to come. Whether you’re tackling a huge corporate order or a single, heartfelt gift, getting the safety part right ensures the entire experience is a great one.
The Finishing Touches That Make All the Difference
You're on the home stretch! The engraving is done, and it looks great. But don't stop now. A few final steps are what separate a nice craft project from a truly high-end, unforgettable gift. This is where all the care you've put in really pays off, making the moment of reveal that much more special for the recipient.
First things first, give your masterpiece a thorough wash with warm, soapy water. This isn't a step to skip—it gets rid of any stubborn glass dust, oils from your hands, and leftover marks from your design stencil. Just use a soft sponge or cloth, be gentle, and then let it air dry completely. A lint-free cloth works wonders for a final polish.
How to Present Your Engraved Glassware
Once your engraved glass is clean and sparkling, it's time to think about presentation. After all, a thoughtful gift deserves packaging that feels just as special.
-
For Personal Gifts: Imagine a custom whiskey decanter nestled in a satin-lined box. Or a pair of champagne flutes wrapped in elegant paper with a hand-tied ribbon. It turns the act of unwrapping into part of the experience.
-
For Corporate Gifting: Branded packaging adds a layer of professionalism that really lands with clients and employees. A sturdy, custom-fit box doesn't just protect the glass; it reinforces your company’s commitment to quality and makes the gift feel substantial.
These finishing details show a level of care that elevates the entire gift. It’s the difference between simply handing over an item and creating a memorable experience for your client, employee, or loved one.
This meticulous attention to detail, from the first cut to the final presentation, is what gives a custom piece its value. To see how these techniques come together for professional-grade results, take a look at our guide on laser engraved glassware. That final polish is what truly completes the art of giving a personalized, engraved gift.
Got Questions About Glass Engraving? We've Got Answers.
As you start exploring the art of glass engraving, you’re bound to run into a few questions. It’s all part of the process. Honing your skills, especially when you're aiming to create those stunning corporate or personal gifts, always involves a bit of trial and error.
Let's tackle some of the most common issues people face.
What's the Best Glass to Start With?
This is a big one. For anyone just starting out with a rotary tool, I always recommend a softer glass like soda-lime or lead crystal. They’re much more forgiving and easier to get a feel for.
Harder glass, like borosilicate, is a different beast altogether. You can absolutely engrave it, but it demands more pressure or even specialized tools like a laser to get a really clean result. We've actually curated our premium glassware collection specifically for its fantastic engraving qualities, making it a reliable choice for any gifting project.
Why Do My Engraved Lines Look Jagged?
If your lines are coming out uneven or shaky, it almost always comes down to inconsistent hand speed or pressure. It's a classic beginner's hurdle.
The secret is finding a smooth, steady pace that feels comfortable and sticking with it. Don’t be afraid to use a guide or a stencil, either. It can make a world of difference in getting that clean, professional look you want for a client appreciation gift or a personal memento.
How Do I Get That Perfect Frosted Look?
Seeing patchy spots instead of a smooth, frosted finish? That’s a tell-tale sign of a technique issue. A few small adjustments can fix this right up.
- Filling in Areas: Instead of a back-and-forth scrubbing motion, try using small, overlapping circles.
- Creating Shading: The key here is light, consistent pressure. This will help you create those beautiful, smooth gradients that make a design pop.
- Choosing the Right Bit: I find a ball-shaped burr bit is often much better for filling and shading than a sharp, pointed one.
Interestingly, the history of glass manufacturing plays a huge role in the techniques we use today. When the soda-lime-silica glass composition was standardized back in 1830, it made high-quality glass accessible, which really set the stage for modern engraving. If you're curious, you can learn more about how these material advancements shaped the art form.
My single most important piece of advice? Practice on scrap pieces first. Every tool feels different, and every piece of glass has its own personality. A little practice is the best way to build the confidence you need to create a flawless gift.
Can I Engrave on Curved Surfaces?
Absolutely! It just takes a bit more patience and care. The most critical part is making sure the item is secured and won't wobble. You’ll find yourself constantly rotating the glass or adjusting your hand position to keep the tool at a consistent angle to the surface. It's tricky at first, but with practice, you can beautifully engrave anything from a wine bottle to our elegant glassware.
At ROCKS Whiskey Chilling Stones, we believe the perfect gift starts with the perfect canvas. Explore our collection of premium, engravable barware to find the ideal piece for your next corporate or personal gifting occasion at https://www.rockscs.com.


