


You've unwrapped a handsome cocktail shaker set, lined up the tins on the counter, and suddenly realised you're not sure which piece goes where. Or perhaps you're choosing a gift and wondering whether the recipient will use it. Learning how to use a cocktail shaker set starts with a few repeatable habits, not impressive tricks or a professional bar.
Why a Cocktail Shaker Set Belongs in Every Home Bar
A cocktail shaker is a precision tool, not just a container with a lid. It helps you control how a drink feels and tastes, making it a useful gift for someone who enjoys hosting, experimenting with recipes, or serving a familiar favourite properly.
Its main jobs are chilling, dilution, and aeration. Ice absorbs heat and melts, deliberately adding water to the recipe, while shaking introduces air that changes texture, especially in drinks containing citrus, dairy, or egg white. Those functions explain why a shaker does more than combine ingredients, as described in this cocktail-science overview of shaking.
Understand what the tools contribute
Think of the set as a small working system:
- The shaker provides the space for ingredients and ice to move together.
- The jigger lets you measure rather than guess.
- The strainer helps separate the finished drink from the ice used to make it.
The payoff is repeatability. If you enjoy your cocktail, measured ingredients and a consistent method give you something you can reproduce rather than a lucky result you can't explain.
Practical rule: Treat melted ice as an ingredient to control, not a mistake to eliminate.
That distinction matters when choosing a gift. A decorative accessory may look attractive on a shelf, but a thoughtfully assembled barware gift gives the recipient a reason to bring it out.
Our assortment of glassware, whiskey accessories, and gift sets is a good fit for building that broader experience. For birthdays and housewarmings, consider the recipient's favourite drink; for weddings, think about how the couple entertains. Corporate buyers can take the same approach by pairing useful drinkware with clear care guidance rather than choosing presentation alone.
Choosing Between Boston and Cobbler Shaker Sets
Start by identifying the pieces in front of you. A Boston shaker uses nesting vessels, while a cobbler shaker has a main tin, a strainer lid, and a removable cap. Cobbler designs are generally more intuitive for beginners because the strainer is integrated; Boston designs require more practice with sealing and opening, as outlined in this guide to cocktail shaker formats.
Boston vs Cobbler Shaker Comparison
| Feature | Boston Shaker | Cobbler Shaker |
|---|---|---|
| Construction | Nesting mixing tins | Main tin, strainer lid, and cap |
| Seal mechanics | Tins meet at an angle | Lid and cap fit onto the main vessel |
| Ease of use | Rewards practice with the seal | More straightforward for a first-time user |
| Straining | Requires a separate strainer | Strainer is built into the lid |
| Capacity | Check the individual model and usable space | Check the individual model and usable space |
| Ideal recipient | Confident cocktail maker or keen learner | Beginner who prefers an integrated setup |
Capacity deserves attention, but don't judge it from appearance alone. Choose a vessel that suits the recipient's recipes and leaves space for ice movement rather than assuming a larger-looking set will suit every task.
Match the gift to the person
For a brother learning to host, I'd favour a straightforward setup with clearly marked measuring tools. For a wedding gift, I'd consider how comfortably the tools and glasses fit into the couple's entertaining routine.
An experienced enthusiast may enjoy the hands-on mechanics of a Boston set. The distinction is about preference and confidence, not whether someone deserves a supposedly more serious tool.
- Prioritise measurement. A jigger should be easy to identify and read.
- Check the straining arrangement. Make sure a Boston-style gift includes a suitable separate strainer.
- Treat extras as extras. A bar spoon can complement the setup, but it doesn't replace the tools needed for a shaken drink.
For corporate gifts, our glassware assortment can complement either format. Pairing the tools with a short operating guide is my recommendation for making the gesture feel usable, particularly when recipients have different levels of cocktail experience.
Setting Up Your Shaker Before the First Shake
Clear a stable workspace and put your serving glass within reach. Chill the glass before building the drink, then arrange your jigger, ingredients, ice, and strainer so you won't have to search for anything with a filled shaker in hand.
Our guide to setting up a home bar can help you think through the wider arrangement. If you're preparing a company gathering rather than a drink at home, BeeHive Mobile Bar's resource on what to bring for event bar is another useful planning reference.
Build before adding ice
Measure the liquid ingredients into the smaller Boston tin or the main cobbler vessel. Add fresh, solid ice once everything else is ready, filling the shaker approximately halfway; large, dense cubes are preferable to crushed ice when controlling dilution matters because smaller pieces break down faster, according to this bartending technique reference.
- Choose the serving glass first. Follow the recipe's intended presentation, whether that's a coupe, Nick & Nora, or rocks glass.
- Read the jigger markings. Don't assume an unmarked cap is a measuring tool.
- Leave movement space. Ingredients and ice need room rather than a vessel packed to the rim.
- Finish preparation before sealing. Have garnishes and any serving ice ready.
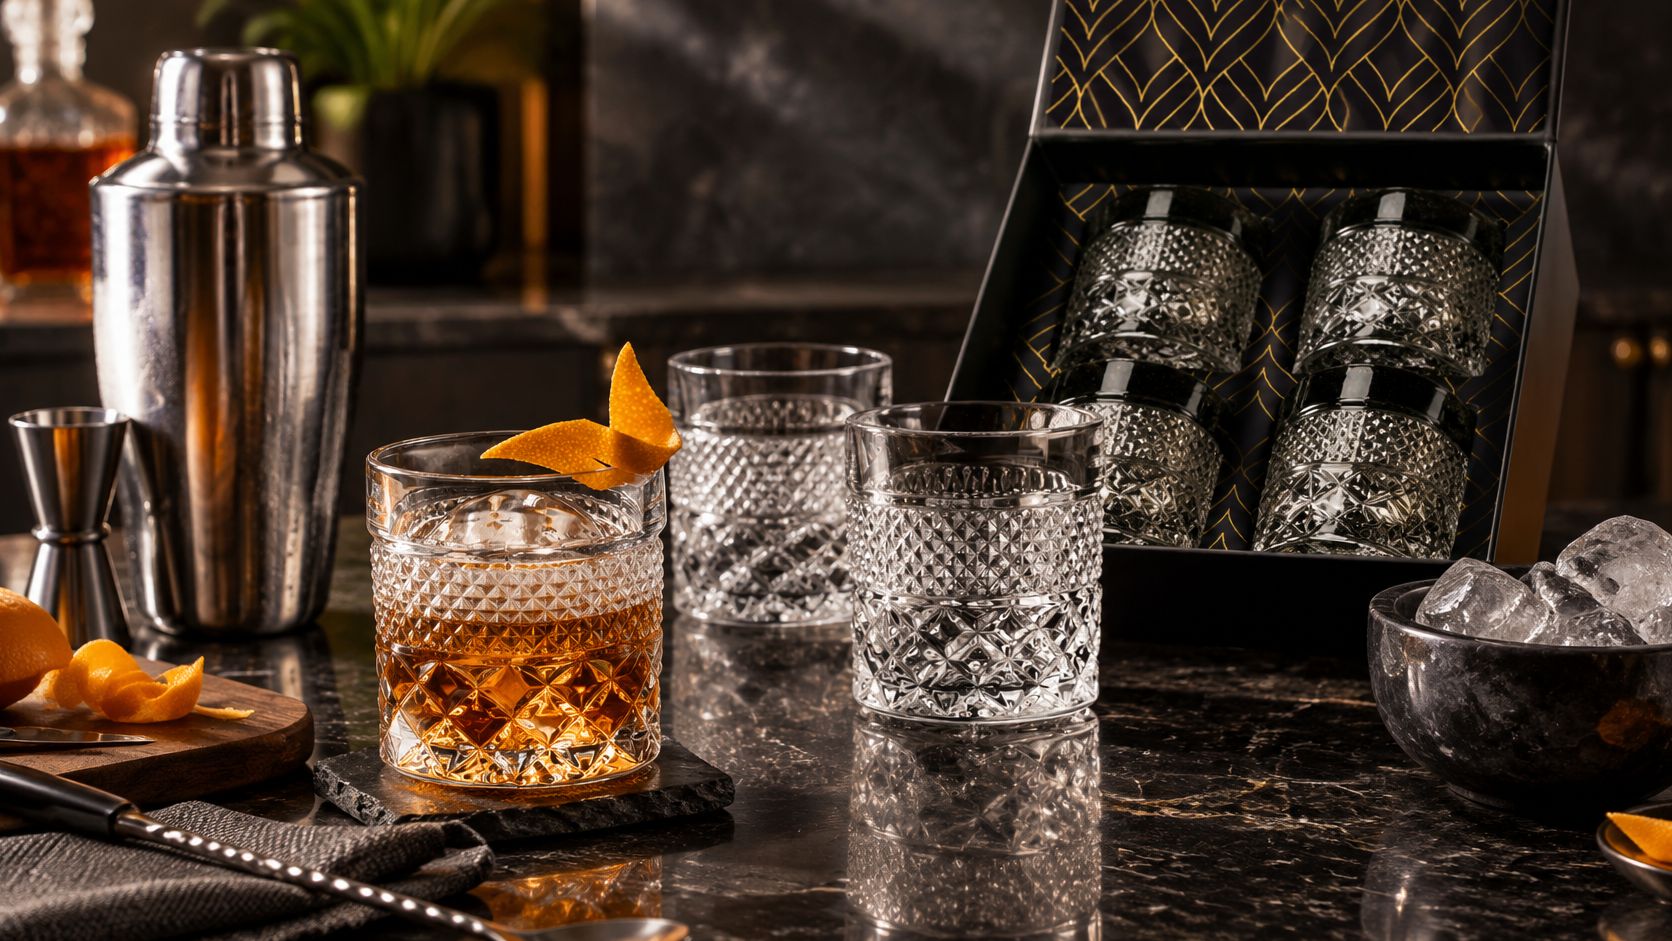
For a drinkware gift alongside the tools, The Privilege Collection - Admiral Glasses offers crystal whiskey glasses with a timeless design, intended for spirits and occasional cocktails. It's an option from our assortment for recipients who enjoy both whiskey service and home-bar experimentation.
Shaking Technique That Actually Works
A successful shake is controlled and vigorous. You're moving the contents through the vessel, not performing a flourish, so begin with a grip you can maintain comfortably.
For a Boston shaker, place the larger tin over the smaller one at an angle and seat it firmly. For a cobbler, fit the lid and cap securely. These assembly methods, including the Boston shaker's angled seal, are described in Bon Appétit's shaker guide.
Grip, move, and stop deliberately
Keep a hand near the top and the other supporting the base so you're controlling both ends. Use a compact back-and-forth motion rather than a wide swing, and stop immediately if you feel the pieces shifting or notice leakage.
For most spirit-and-citrus drinks, use 10–15 seconds as a starting benchmark; cocktail-science testing places practical equilibrium at approximately 15 seconds, after which additional shaking offers less chilling benefit relative to further dilution. The same technical analysis of shaking and dilution explains why ice format, liquid volume, and the shaking method need to stay consistent.
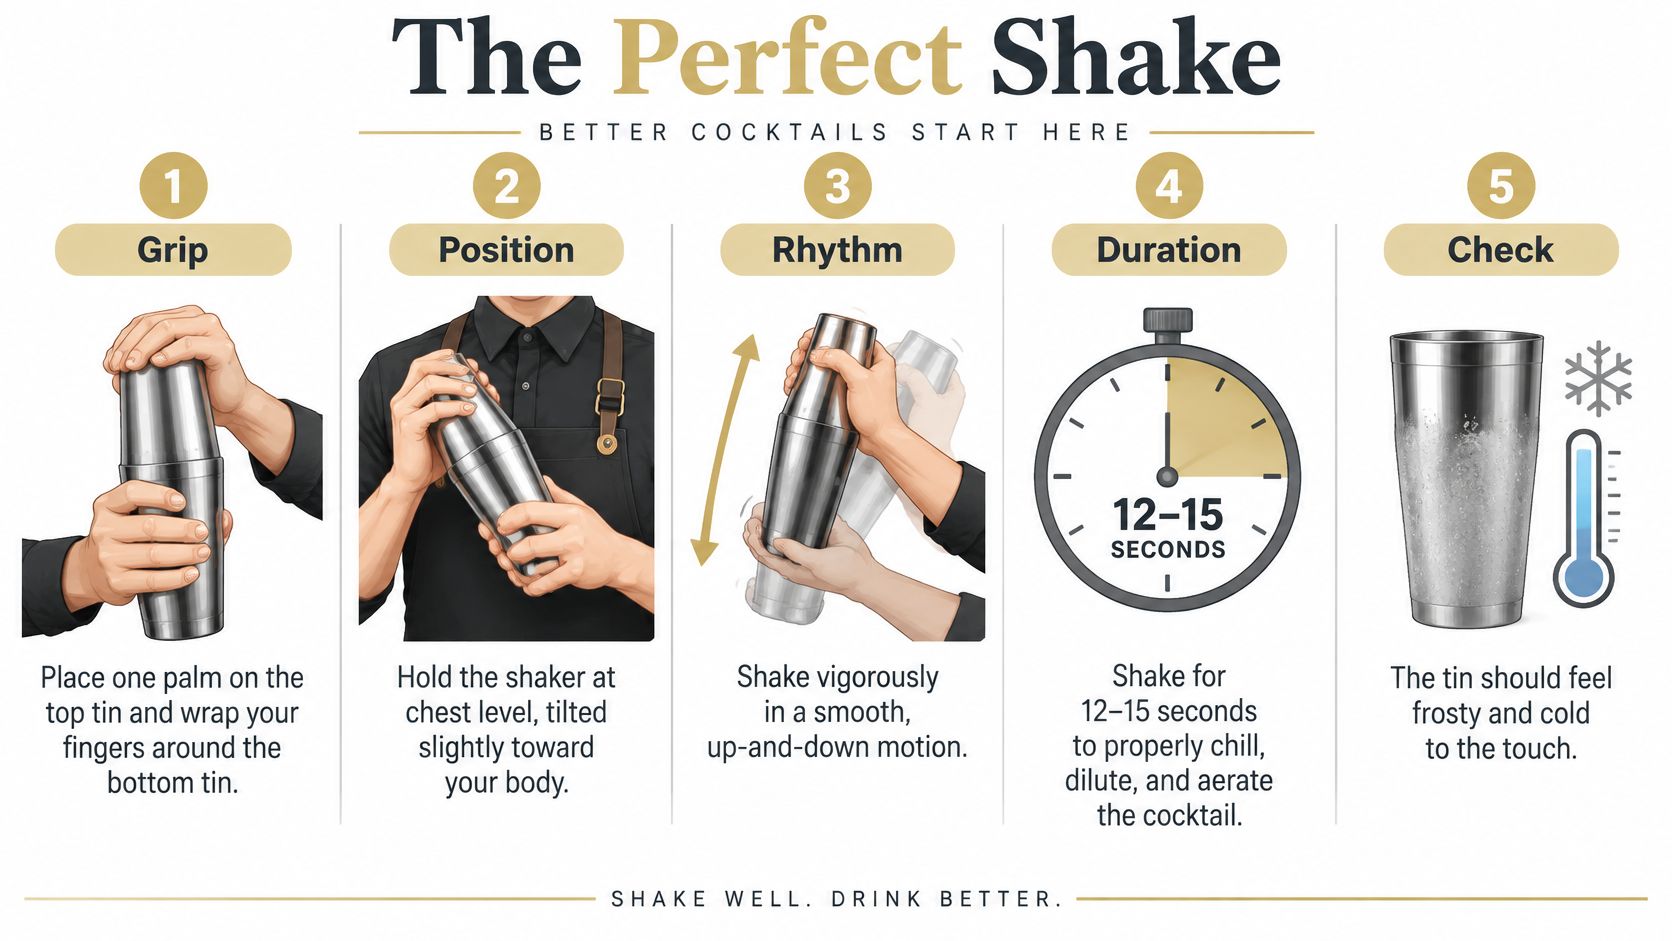
A distinctly cold or frosty exterior is a useful cue, but it doesn't tell you the drink's exact dilution. Use the clock and the feel of the vessel together, then assess the finished result rather than assuming a colder hand guarantees a balanced cocktail.
More shaking isn't automatically better. Aim for a repeatable result, not the longest possible performance.
Understand dry and wet shaking
A dry shake means shaking without ice. In an egg-white sour, that stage helps develop foam; the wet shake follows with ice to chill and dilute the drink.
A reverse dry shake changes the order: shake with ice, strain it out, then shake the liquid again without ice. It's an optional technique for refining foam, not a requirement for learning the basic workflow.
For a corporate demonstration or a gift recipient's first attempt, I'd teach the ordinary dry-then-wet sequence before introducing variations. Our barware gifts make sense as part of that learning experience when you include practical guidance instead of expecting the recipient to work everything out from the packaging.
Two Classic Recipes to Practice Right Away
A Whiskey Sour and a Margarita make useful practice choices because they let you compare a foamy drink with a straightforward ice-shaken cocktail. Use a complete recipe with stated measurements rather than guessing quantities from the size of your glass.
The ingredient combinations below are practice outlines, not fixed formulas. Follow your chosen recipe's exact jigger measurements, including its egg-white guidance, so you can concentrate on technique without inventing a balance as you go.
Whiskey Sour practice
Lay out whiskey, lemon juice, sweetening syrup, and egg white if your chosen recipe includes it. Set out a chilled rocks glass or the stemmed glass specified by that recipe.
- Measure the liquids. Use the jigger for each ingredient rather than pouring by eye.
- Develop the foam. If using egg white, begin with the dry-shake method described above.
- Chill the mixture. Add ice and complete the wet shake.
- Serve as directed. Strain into the prepared glass, using fresh serving ice if the recipe calls for it.
Notice the texture when you taste it. Record your recipe and method so a later adjustment changes something deliberate rather than everything at once. Our collection of cocktail recipes with whiskey provides another place to explore whiskey-based drinks.
Margarita practice
For your Margarita practice, gather tequila, lime juice, orange liqueur, and any additional sweetener specified by your chosen recipe. Prepare the requested glass and rim before you build the drink.
This time, measure the ingredients, add ice, and use a wet shake without the egg-white preparation stage. Follow the recipe's serving instructions rather than assuming every Margarita belongs over ice.
A printed recipe card makes a thoughtful addition to our drinkware gifts, especially when the recipient is learning. For client events with varied preferences, Pep Tea's refined alcohol-free tea drinks can also help you plan an alternative rather than treating alcohol-free guests as an afterthought.
Straining and Troubleshooting Common Shake Mishaps
Keep the prepared glass close when you finish shaking. Strain promptly rather than setting the filled shaker aside, so the cocktail doesn't continue sitting against the working ice.
For a Boston shaker, support the vessel and tap the side of the larger tin with the heel of your hand to release the seal. With a cobbler, remove the cap and pour through the integrated strainer.
Choose the finish you want
A Hawthorne strainer holds back the working ice when pouring from an open tin. A fine-mesh strainer adds another filtering stage when you want to catch smaller particles; consult our guide to cocktail strainer types when choosing accessories for a gift.
- Use ordinary straining when the recipe's texture needs no further refinement.
- Consider double-straining when pulp, herb fragments, or small ice pieces aren't wanted.
- Assess foamy drinks deliberately. Don't add extra filtration automatically if you're happy with the finish.
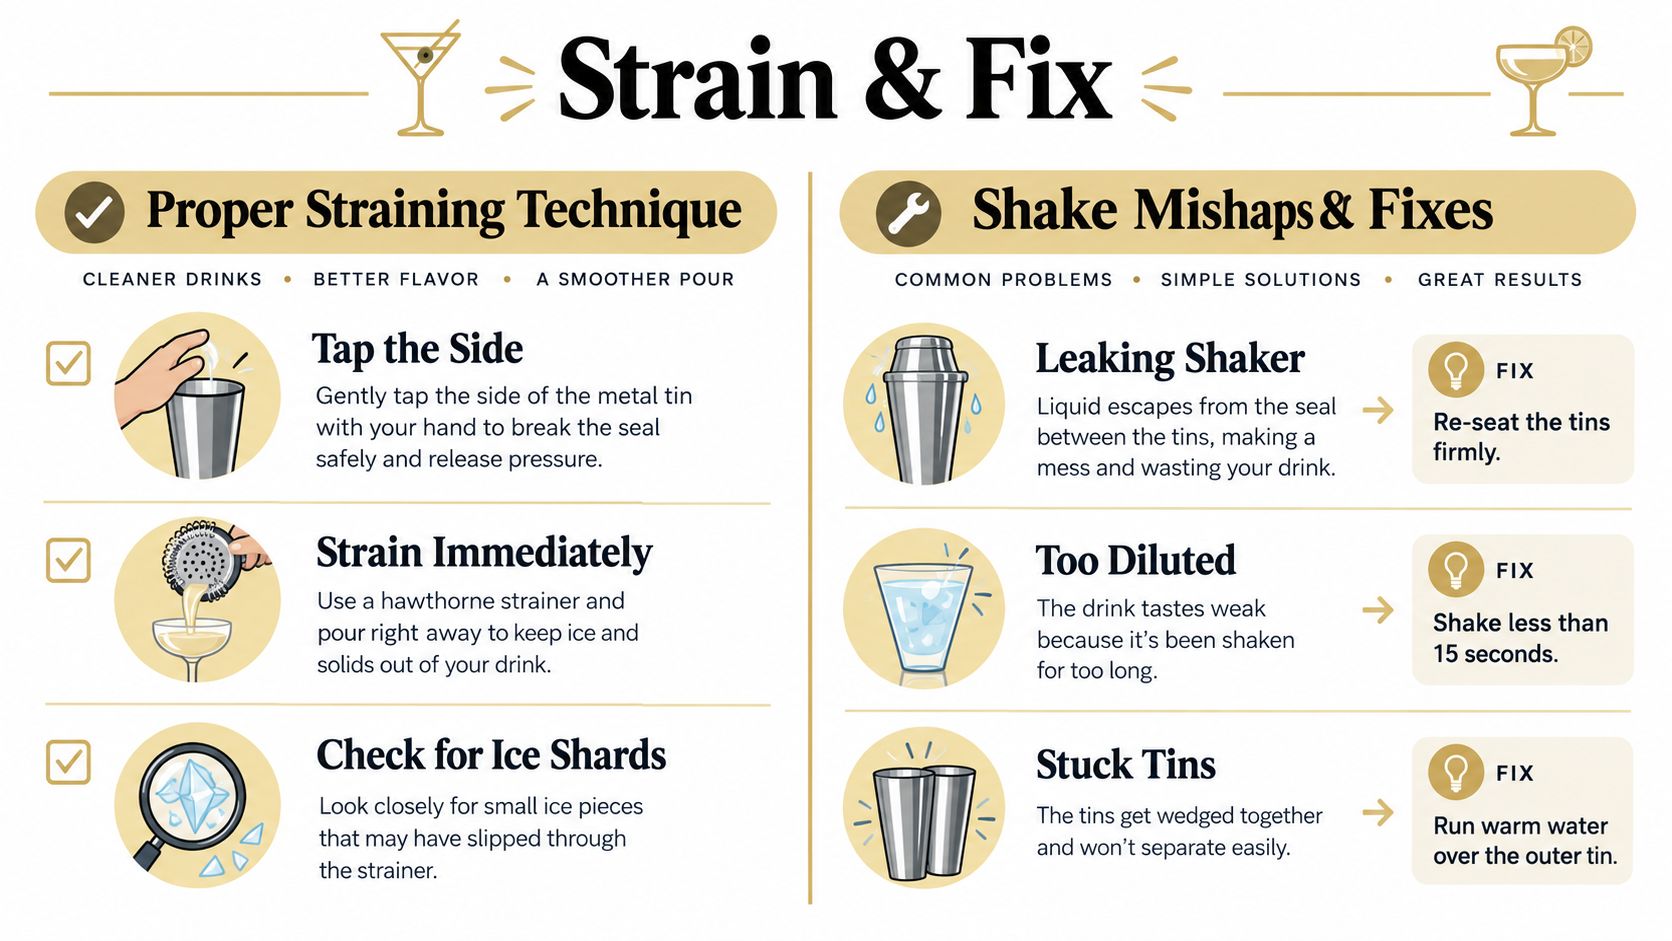
Recover without forcing the tools
| Problem | What to check | Practical response |
|---|---|---|
| Boston shaker won't seal | Tins may be poorly seated | Reassemble at an angle and seat firmly |
| Rim leaks | Seal may be incomplete | Stop and reseat the components |
| Boston tins won't open | Seal hasn't released | Try the controlled side tap |
| Cobbler cap sticks | Components may be binding | Follow the maker's release guidance rather than forcing |
| Drink tastes watery | Ice or technique may need adjusting | Return to solid cubes and the established timing |
These checks make a useful insert for a beginner's gift. Our complementary glassware is a good fit for a practical barware package, but confident use matters as much as presentation.
Cleaning, Storing, and Gifting Your Cocktail Shaker Set
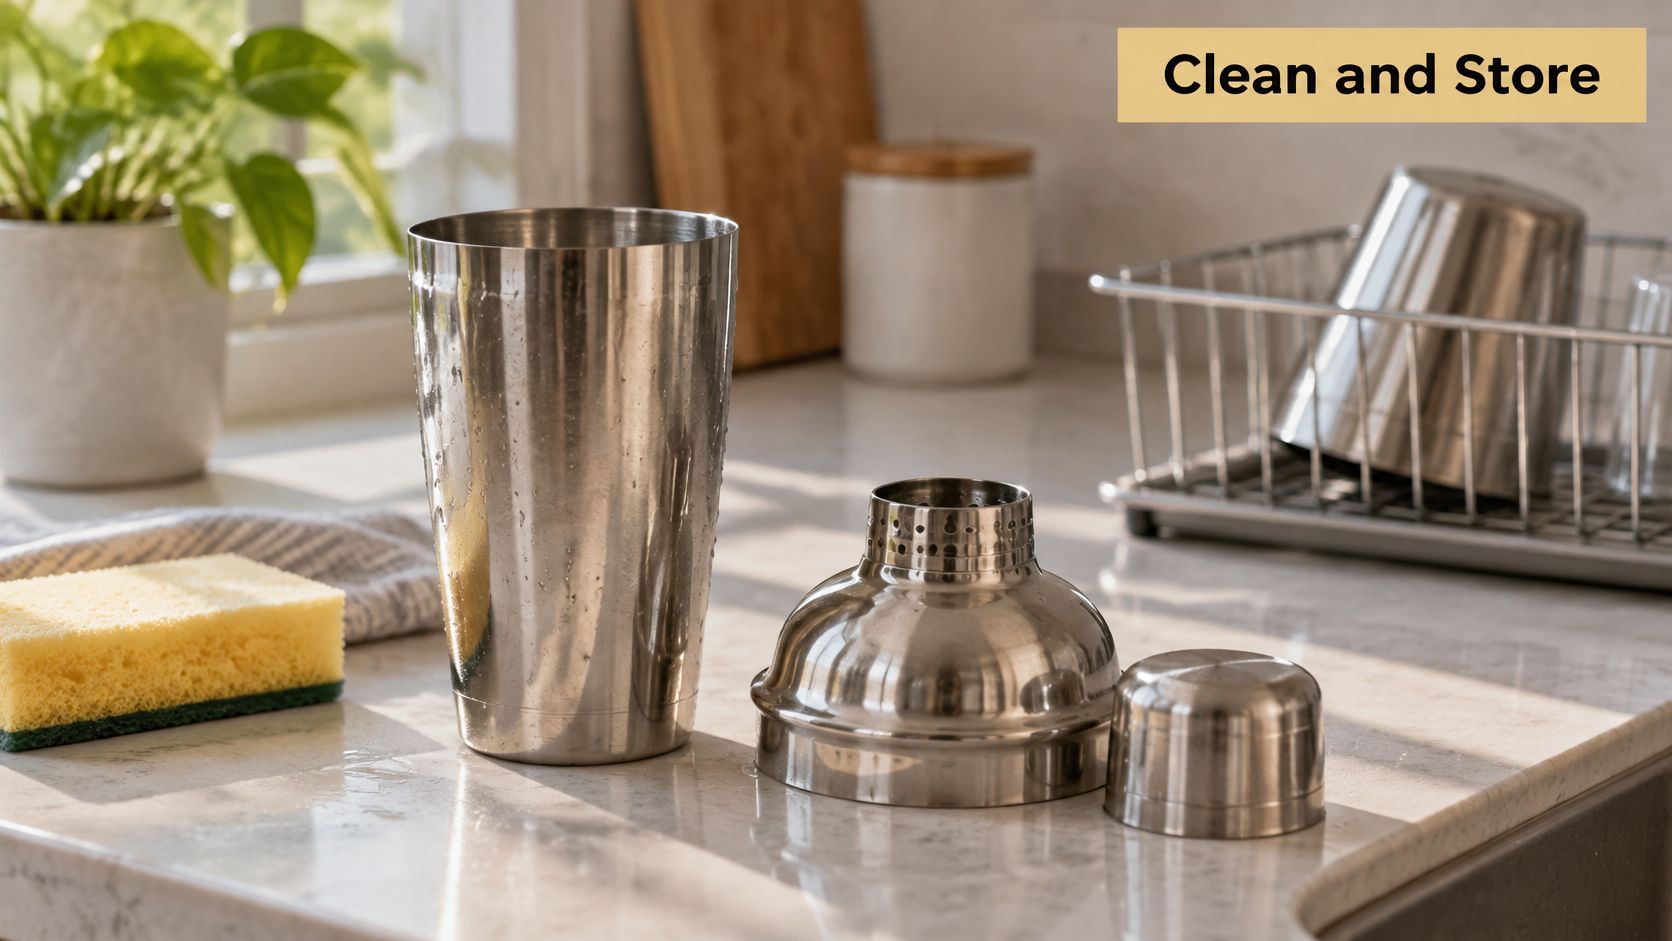
Disassemble the shaker after use instead of rinsing it while assembled. Wash the lid, strainer holes, springs, seams, and any gaskets according to the manufacturer's instructions, then rinse thoroughly.
Dry the components separately before storage. This guide to cleaning a cocktail shaker recommends attending to hard-to-reach parts, avoiding trapped moisture, and checking material-specific care rather than assuming every finish is dishwasher-safe.
Build a gift around the drinking ritual
- For a new host, pair drinkware with a recipe card and simple care instructions.
- For a personal milestone, consider engraved glassware or a personalised wood tray from our assortment.
- For corporate recipients, choose a coherent package with clear operating and storage guidance.
For someone who also enjoys whiskey without added meltwater, The Connoisseur's Set - Twist Glass Edition pairs granite whiskey stones with twist crystal glasses. Treat that as a separate whiskey-serving option, not a replacement for the working ice required by a shaken recipe.
A good gift respects how the recipient likes to drink. Match the accessories to that habit, and include enough guidance to make the first use welcoming.
ROCKS Whiskey Chilling Stones offers whiskey stones, crystal drinkware, and gift sets to complement a thoughtfully equipped home bar. Visit ROCKS Whiskey Chilling Stones to choose a birthday, wedding, housewarming, or corporate gift, with personalised glassware and wood-tray options for a more individual gesture.


